Project tools
Embedded views
Embedded views
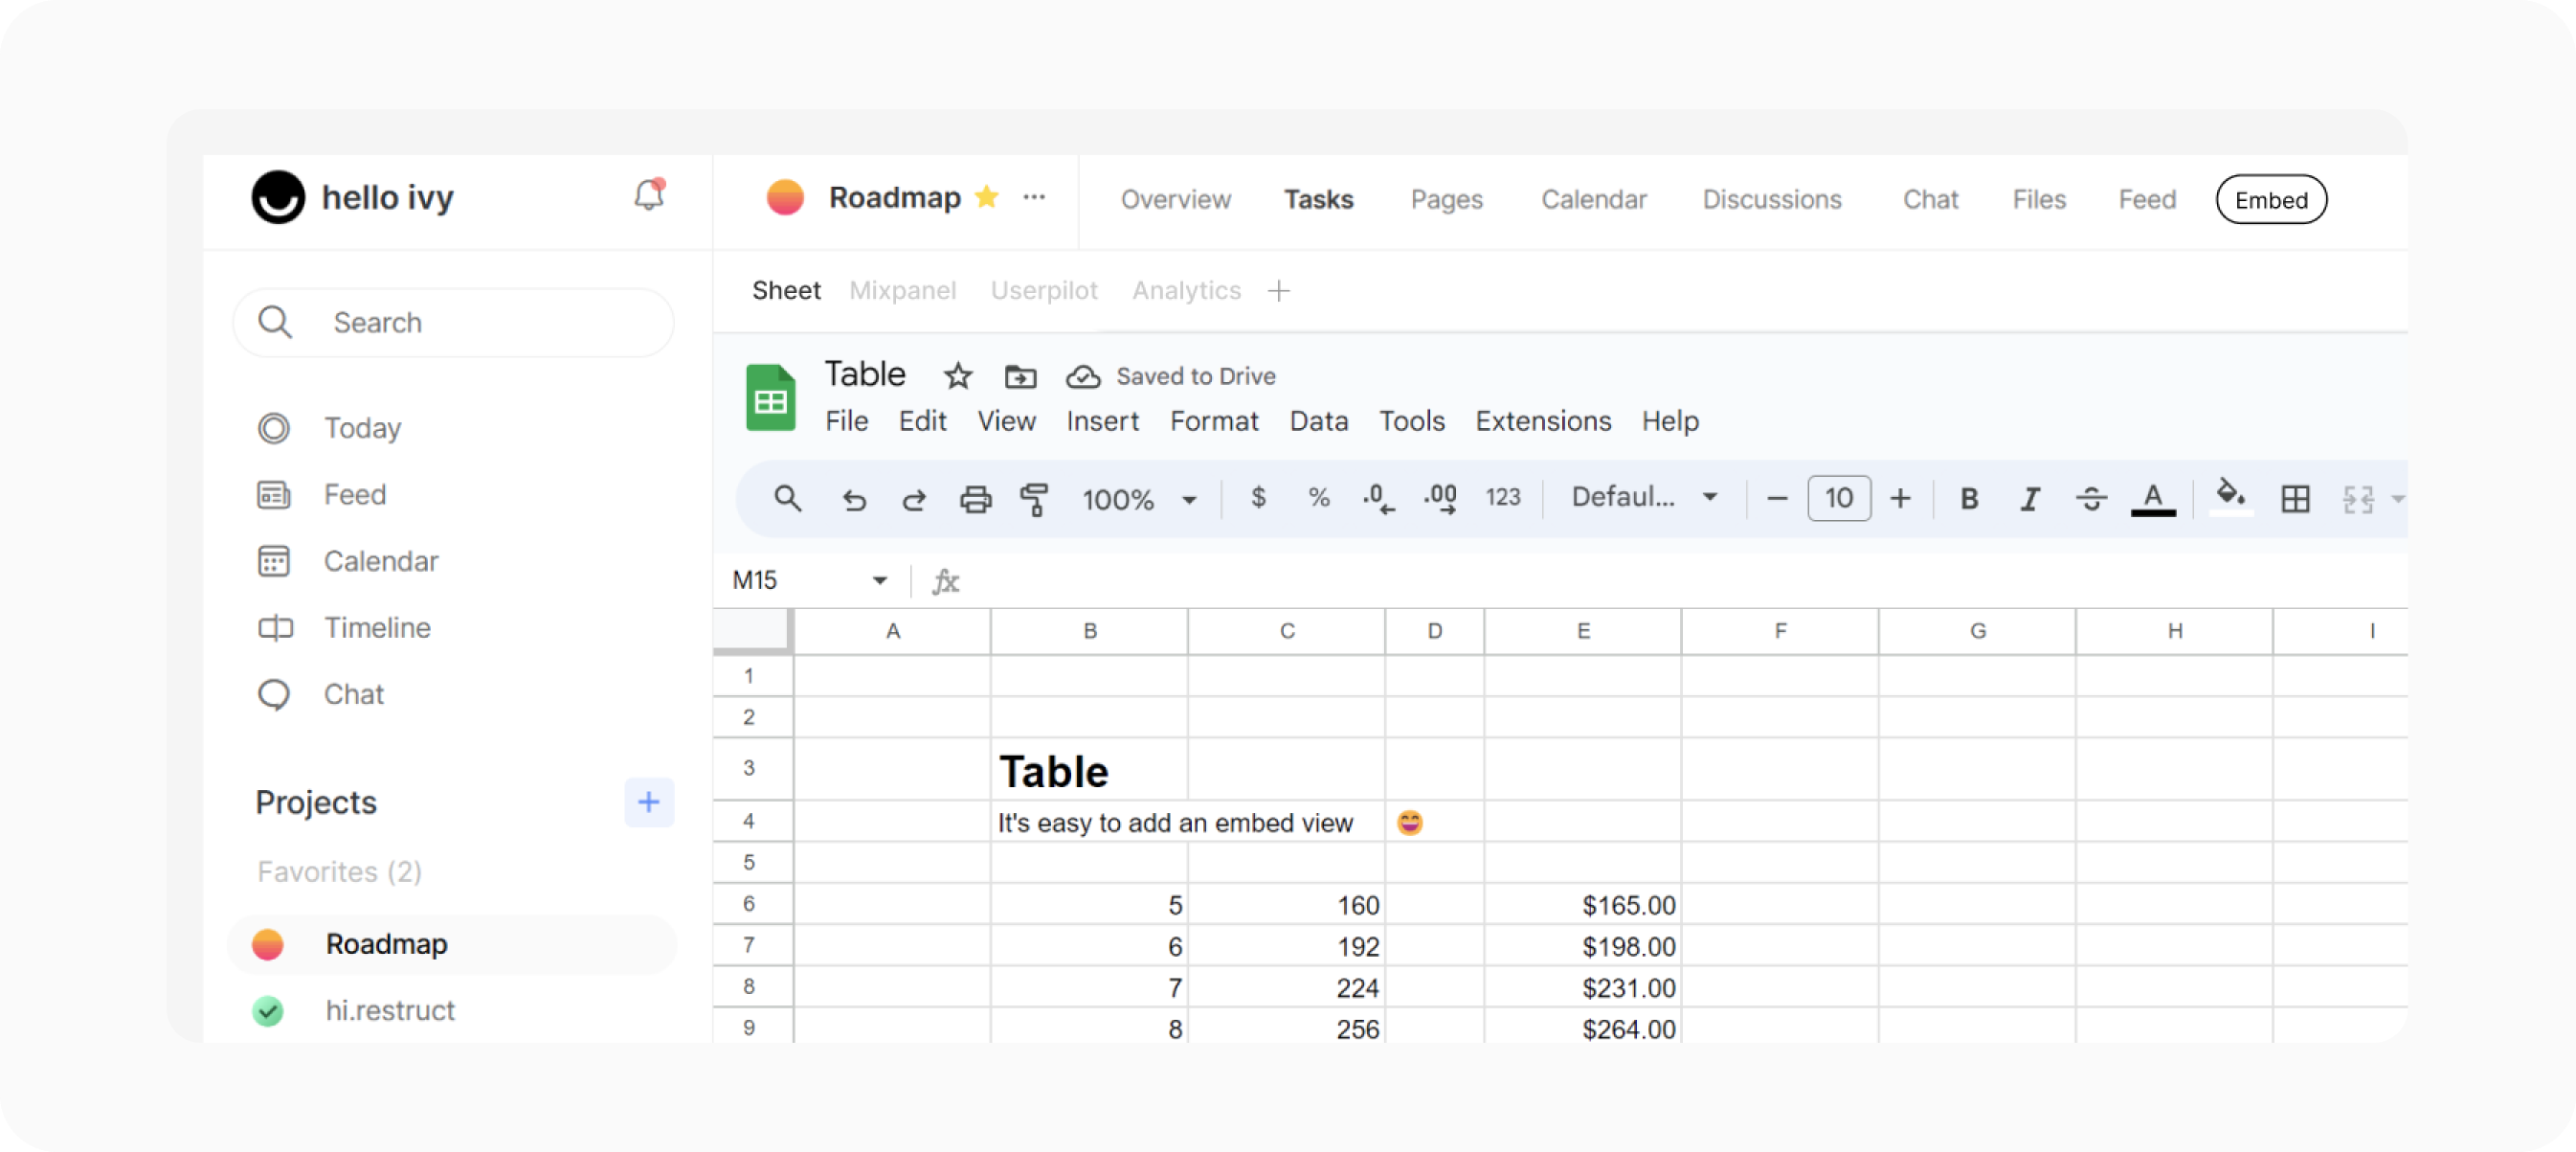
To add an embedded view to your project, follow these simple steps:
When creating a new project, ensure that the "Embed" tool is active.
Once your project is created, click on "Embed" in the project navigation bar at the top.
Input the desired URL you wish to embed and provide it with a name. Then, click 'Save.'
That's it! You've successfully added an embedded view to your project, which you can access at any time. This could be a video, a sheet, an analytics webpage, or anything you prefer.
Note: Most websites allow embedding, but some websites don't and block the content from being displayed via an iframe.
Embedded views
To add an embedded view to your project, follow these simple steps:
When creating a new project, ensure that the "Embed" tool is active.
Once your project is created, click on "Embed" in the project navigation bar at the top.
Input the desired URL you wish to embed and provide it with a name. Then, click 'Save.'
That's it! You've successfully added an embedded view to your project, which you can access at any time. This could be a video, a sheet, an analytics webpage, or anything you prefer.
Note: Most websites allow embedding, but some websites don't and block the content from being displayed via an iframe.