Project tools
Pages
Pages
Pages are powerful (real-time) documents that can be used for any type of content, from meeting notes to elaborate wikis. Pages are always a part of a project, you cannot create a page without creating a project first.
Once you have created a project you can go to the pages tool to start adding pages. The pages tool has its own sidebar in which all the pages of the project are kept.
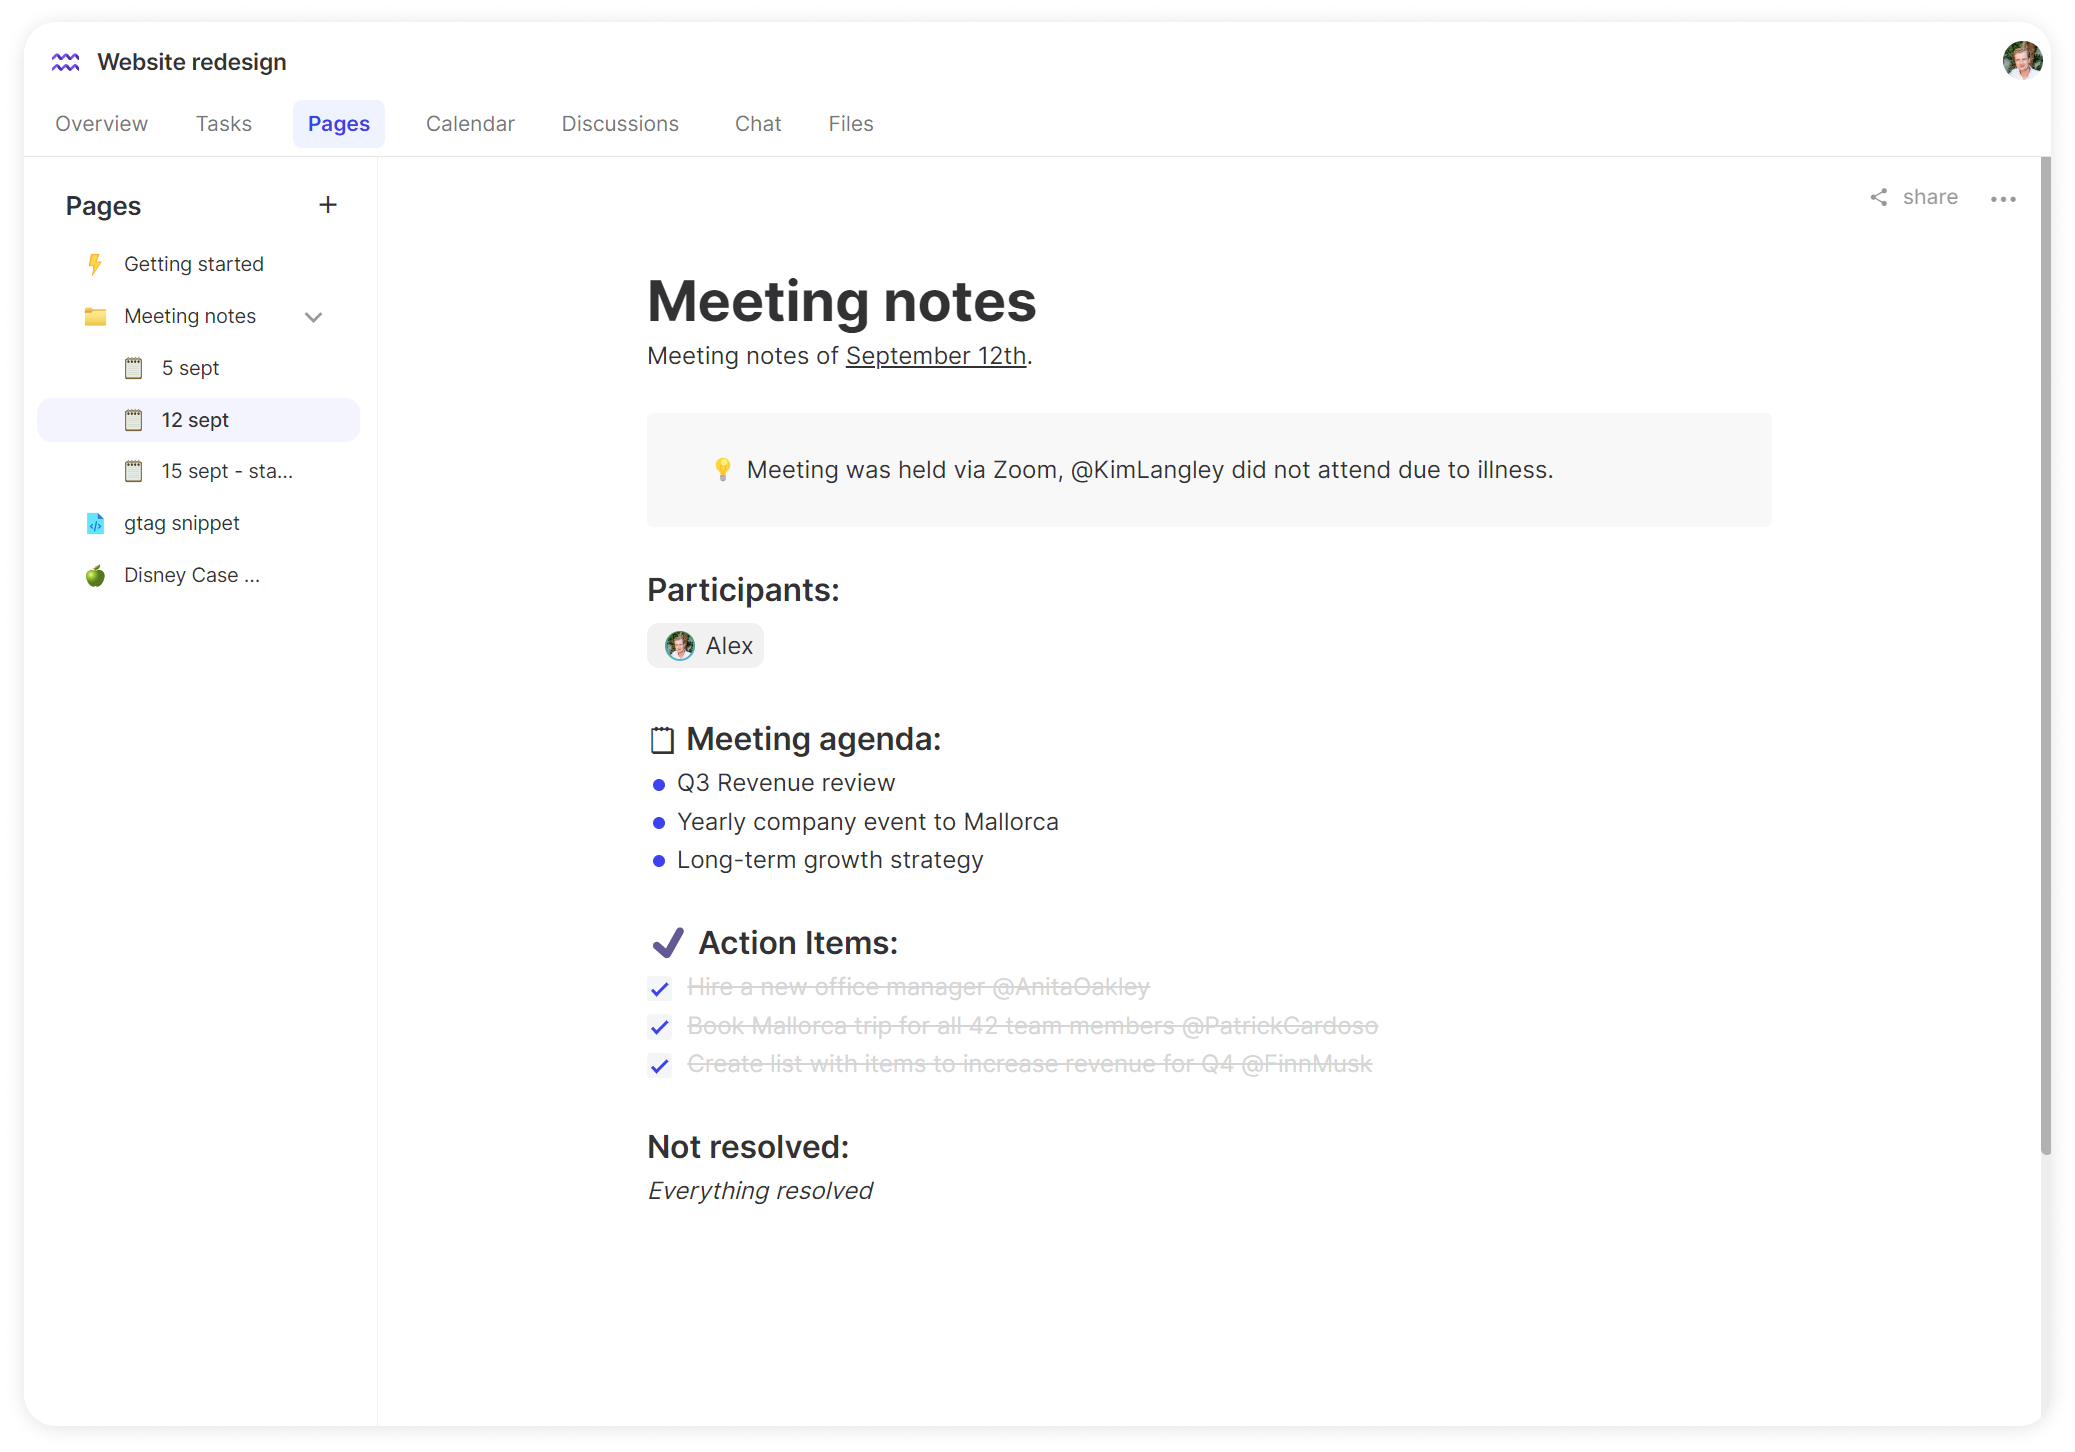
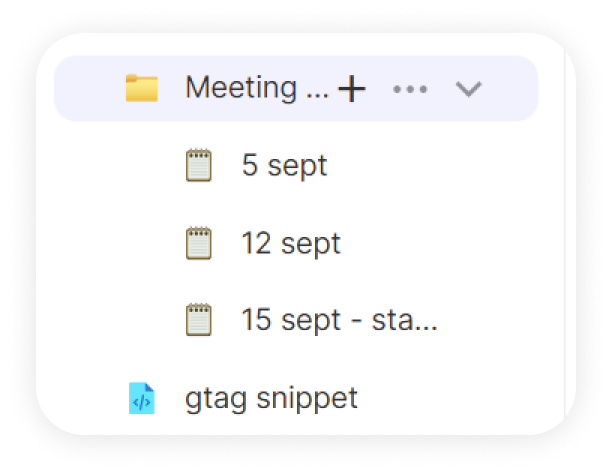
You can add more structure and organize pages by nesting/grouping them together. You can create a nested page by hovering over the parent page and using the "+" icon.
Pages are automatically saved so you don't have to worry about losing any of your content.
Creating a new page
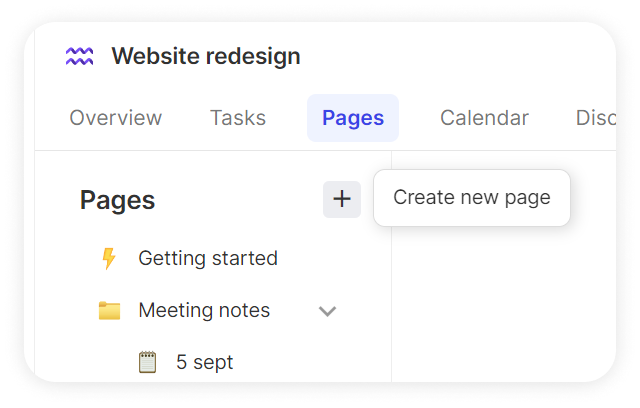
To create a new page you can use the "+" icon on the pages sidebar.
Icons and title
You can change the title of a page in the sidebar by double clicking on it, alternatively you can also hover over the page and use the 3-dot icon to edit the title or to delete the page.
You can also change the icon of a page in the sidebar by simply clicking on the icon and selecting another one.
The editor
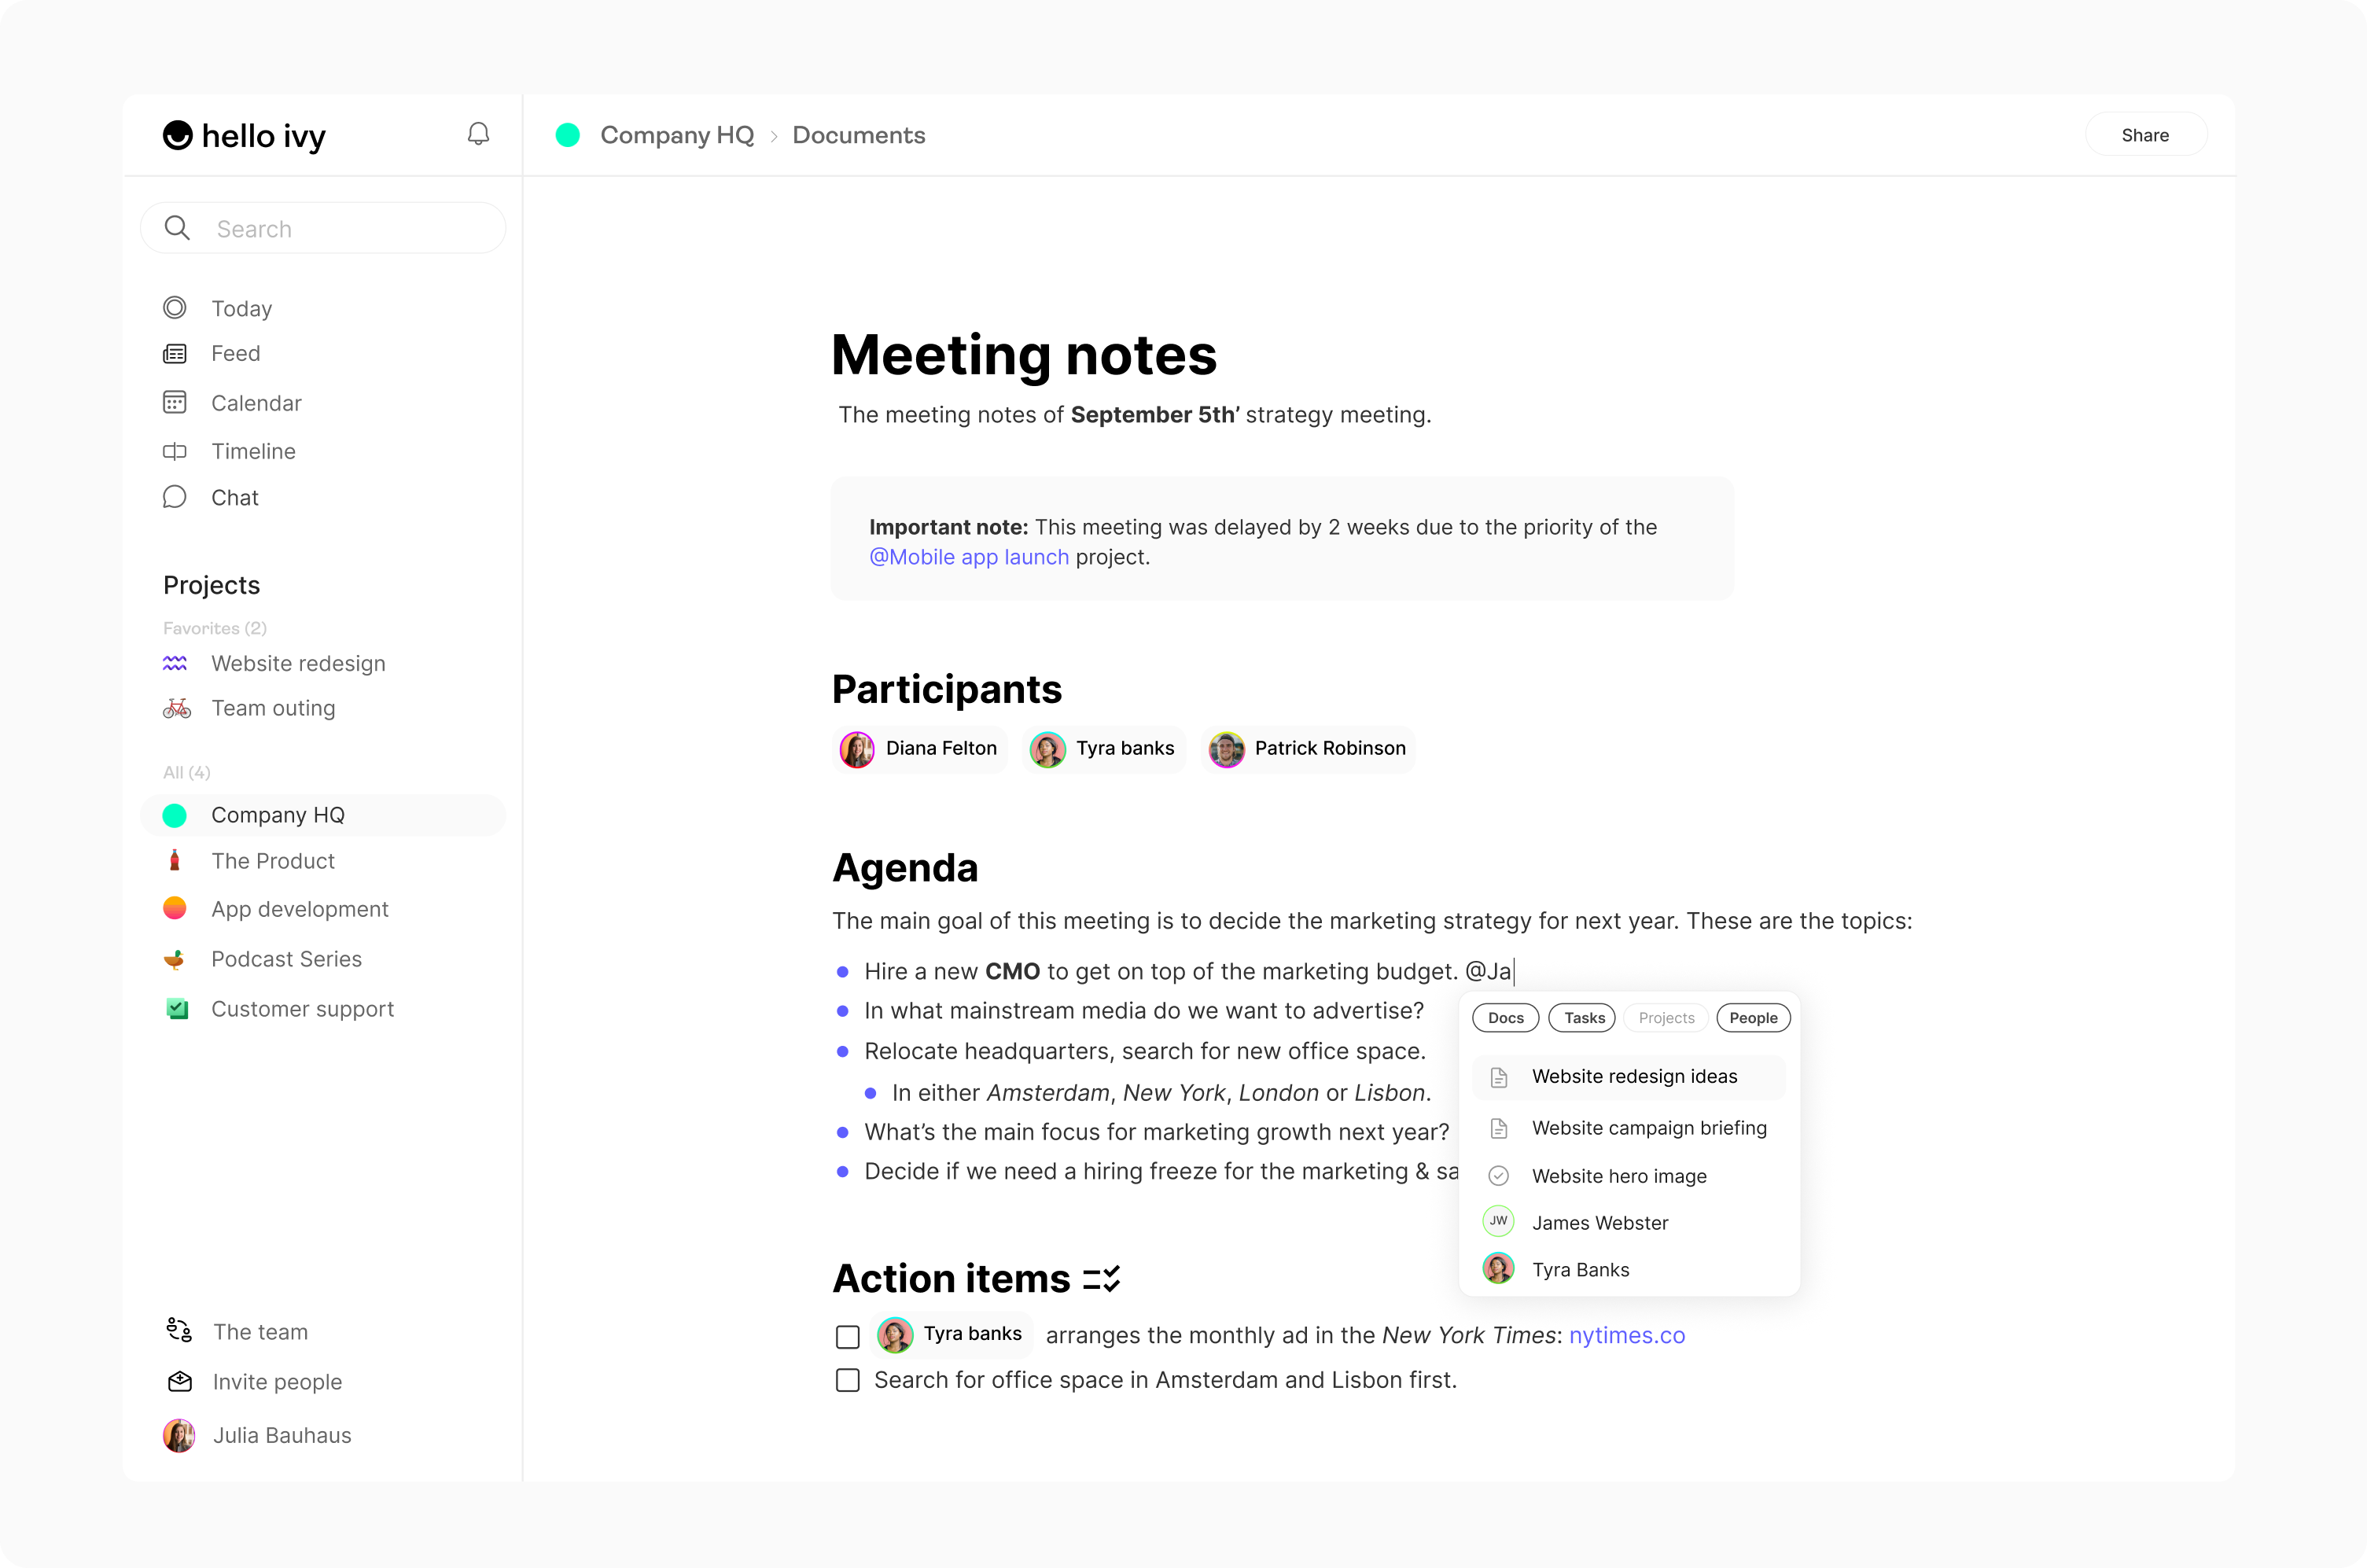
Creating and editing content works how you're used to it from tools such as Microsoft Word, Google Docs, Notion, etc. We kept the editor as clean as possible but it's quite powerful. There's a lot of functionality, to show the options bar you should click on a blank line.
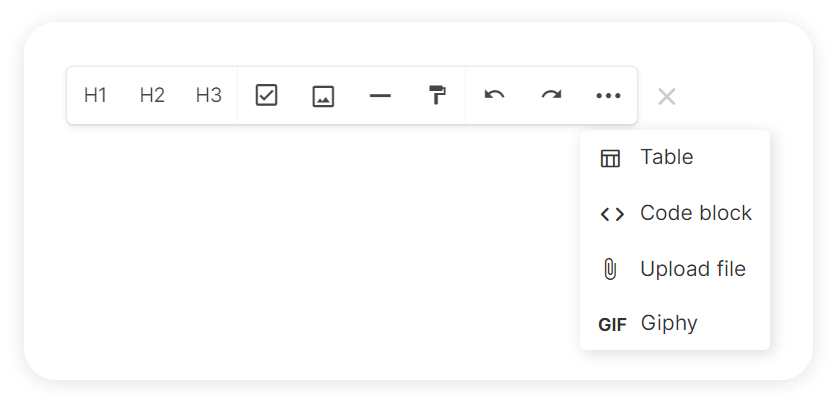
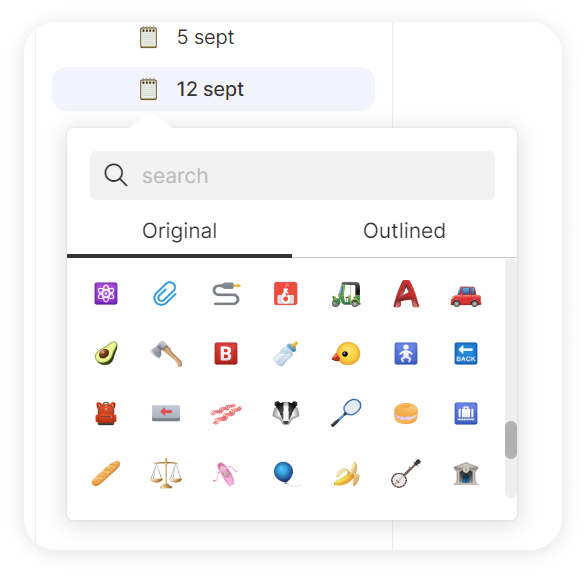
The options bar gives you all the basic functionalities for creating a document. You can add headers, checkboxes, images, borders, color blocks, tables, code blocks, files and GIF's.
If you want to edit and style content simply select what you want to edit and the editing bar shows up.
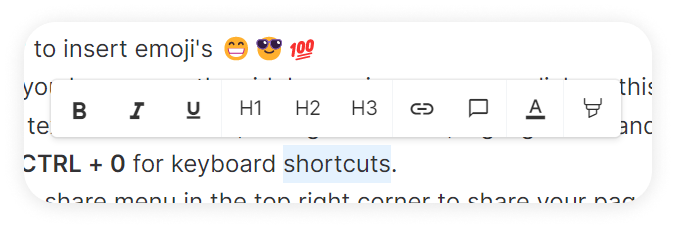
You can make text bold, italic, underline or transform it to a header. You can also add links, comments or mark text.
There's a bunch of shortcuts you can use (and markdown) which can be found in the settings menu.
Real-time collaboration
Hello Ivy's documents are blazing fast and real-time. This means you can work together with your team in the same document and see live updates.
Page settings and information
In the top right corner of a page you'll find a 3-dot icon, which if you click on it opens the page settings.
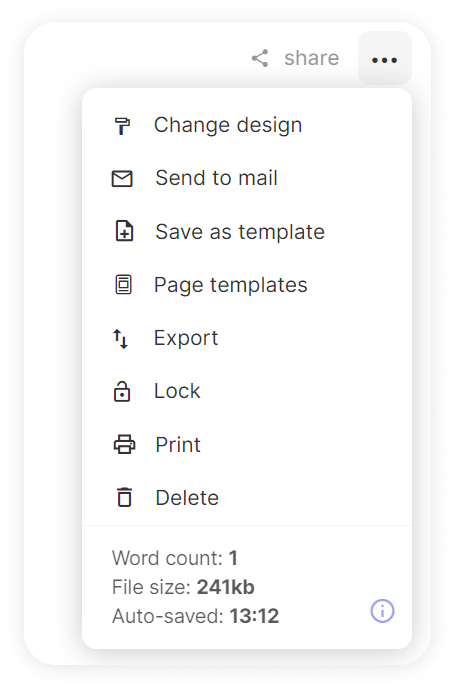
To view information of the page you can click on the "i" icon in the bottom right part of the menu. This will show you information such as when the page was created, last updated, the file size and character/word count.
Lock pages
If you don't want the content of a page to be (accidentally) edited, you can lock the page. This can be done by going to the page settings and clicking "Lock page". Locked pages can be viewed but you cannot make any changes to the page until you unlock the page again. Unlocking a page works the same way as locking it.
Sharing pages
Next to to the page settings icon in the top right corner you'll find a share button, you can use this button to share the page with your team or with external people.
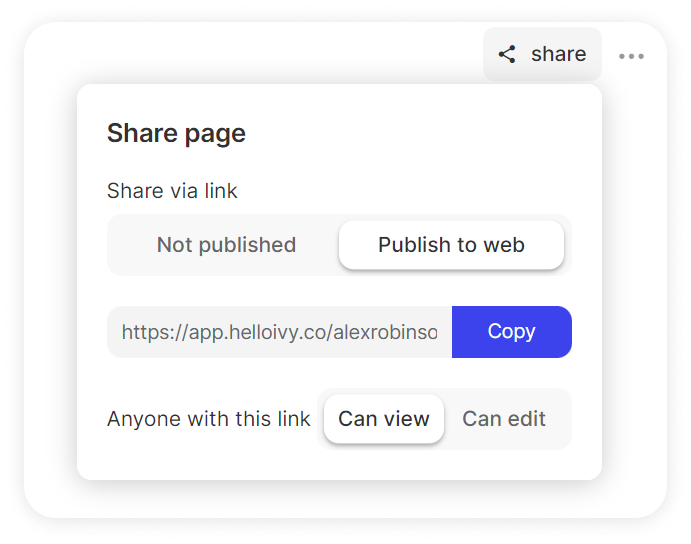
If you want to share a page you have to publish it to the web. Once a page is published you can share the unique URL with anyone you want, also people that are not a member of your workspace. You can also decide if the people viewing your page can only view or also edit.
Export pages
In the page settings menu you can choose to export a page to a PDF or DOC file. Once you click "export" the page gets downloaded.
Change the design of a page
In the settings of a page you can change the design. You can adjust font, font size, line-height and column width.
Creating and using templates
You can save any page as a template (via the page settings). Once you created a template you can always re-use it when you create a new page. When you create a new page there is a "Template" button showing below the title/subtitle.
Pages
Pages are powerful (real-time) documents that can be used for any type of content, from meeting notes to elaborate wikis. Pages are always a part of a project, you cannot create a page without creating a project first.
Once you have created a project you can go to the pages tool to start adding pages. The pages tool has its own sidebar in which all the pages of the project are kept.
You can add more structure and organize pages by nesting/grouping them together. You can create a nested page by hovering over the parent page and using the "+" icon.
Pages are automatically saved so you don't have to worry about losing any of your content.
Creating a new page
To create a new page you can use the "+" icon on the pages sidebar.
Icons and title
You can change the title of a page in the sidebar by double clicking on it, alternatively you can also hover over the page and use the 3-dot icon to edit the title or to delete the page.
You can also change the icon of a page in the sidebar by simply clicking on the icon and selecting another one.
The editor
Creating and editing content works how you're used to it from tools such as Microsoft Word, Google Docs, Notion, etc. We kept the editor as clean as possible but it's quite powerful. There's a lot of functionality, to show the options bar you should click on a blank line.
The options bar gives you all the basic functionalities for creating a document. You can add headers, checkboxes, images, borders, color blocks, tables, code blocks, files and GIF's.
If you want to edit and style content simply select what you want to edit and the editing bar shows up.
You can make text bold, italic, underline or transform it to a header. You can also add links, comments or mark text.
There's a bunch of shortcuts you can use (and markdown) which can be found in the settings menu.
Real-time collaboration
Hello Ivy's documents are blazing fast and real-time. This means you can work together with your team in the same document and see live updates.
Page settings and information
In the top right corner of a page you'll find a 3-dot icon, which if you click on it opens the page settings.
To view information of the page you can click on the "i" icon in the bottom right part of the menu. This will show you information such as when the page was created, last updated, the file size and character/word count.
Lock pages
If you don't want the content of a page to be (accidentally) edited, you can lock the page. This can be done by going to the page settings and clicking "Lock page". Locked pages can be viewed but you cannot make any changes to the page until you unlock the page again. Unlocking a page works the same way as locking it.
Sharing pages
Next to to the page settings icon in the top right corner you'll find a share button, you can use this button to share the page with your team or with external people.
If you want to share a page you have to publish it to the web. Once a page is published you can share the unique URL with anyone you want, also people that are not a member of your workspace. You can also decide if the people viewing your page can only view or also edit.
Export pages
In the page settings menu you can choose to export a page to a PDF or DOC file. Once you click "export" the page gets downloaded.
Change the design of a page
In the settings of a page you can change the design. You can adjust font, font size, line-height and column width.
Creating and using templates
You can save any page as a template (via the page settings). Once you created a template you can always re-use it when you create a new page. When you create a new page there is a "Template" button showing below the title/subtitle.